If you blog regularly, you will know that resizing images is one of the best ways to get past image dimensions and file size restrictions. A resized image is not always as good for the eyes though and can even look unreadable at times. If you read often on the internet, you may have also come across the lens zoom effect on screenshots that many blogs use. It is one of the best ways to enhance a resized screenshot. Not to mention it also looks cool. So today we’re going to show you how to easily create a lens zoom effect or magnifying glass effect on screenshots using photo editors like Photoshop and GIMP.
Create Lens Zoom Effect in Adobe Photoshop
Clearly, the most popular and advanced tool for editing images is the one from Adobe. If you’re into a profession where you’re required to edit images or create graphics, Adobe Photoshop is the most obvious choice, despite free options being available. So assuming you already have Adobe Photoshop, here’s how to create a lens zoom effect on screenshots using it.
- Launch Adobe Photoshop and open your screenshot on it.
- On the bottom panel in the right, under the Layers tab, right-click on the background layer and select Duplicate layer.
- With the duplicate layer selected, select Edit > Free Transform. Make sure you click on the Maintain aspect ratio button at the top and then enlarge the image by resizing it.
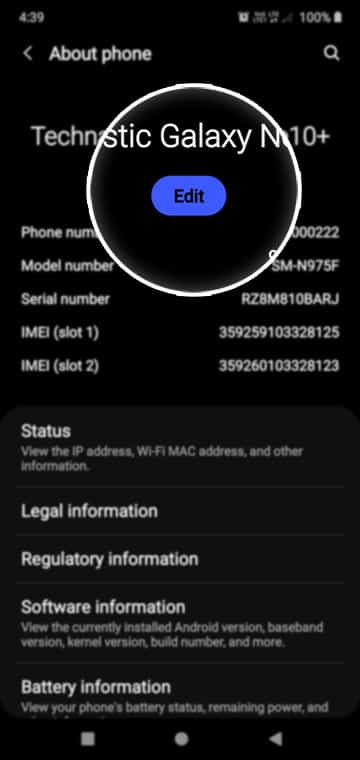
- Right-click on the Marquee tool button on the left and select Elliptical Marquee tool. Then select the area you want to be magnified under the lens zoom effect. You can also adjust your selection size from Select > Transform selection.
- When you’re ready, click Select > Inverse then hit the Delete key on your keyboard. You should now have a magnified lens area but it’s not yet very distinct from the image in the background. Especially when you unselect the selected area to see how things would look. To unselect, click Select > Deselect.
- The duplicate layer should still be the selected layer, select it if it’s not. Now click on the fx button at the bottom of the Layers panel and select Stroke.
- A new window opens up where you can adjust the size, color, and opacity of the stroke. You can also adjust the position of the stroke and you can preview all the changes in the main Photoshop window in real-time. When you’re satisfied with the look of it, select OK.
- You can create a further distinction between the two layers by applying a filter over the background or blurring it, applying a shadow effect to the magnified layer, etc.

Later, you can resize the screenshots using image tools before sharing your image. You can also follow a trick that lets you resize images on Windows with just a right-click on your mouse.
Create Lens Zoom Effect in GIMP
The GNU Image Manipulation Program, or GIMP, is the only true competitor to Adobe Photoshop and it still lags far behind. That’s expected though given Adobe is a huge company whereas GIMP is available for free in its entirety. You don’t pay a dime for it so whatever you get is commendable work from some great developers. If you don’t use Adobe Photoshop, GIMP is your best choice. Here’s how you can create a lens zoom effect on screenshots using GIMP.
- Open your screenshot in GIMP. The tool even lets you take a screenshot from within if you select File > Create > Screenshot.
- From the left panel, select the rectangular or Elliptical Marquee tool and then select the area where you want to create the lens zoom effect. On your keyboard, press Ctrl+C and then Ctrl+V to create a new layer with the selected area. This layer will appear on the top-right column as a Floating Selection. Right-click on it and select To New Layer.
- On the left, click on the Scale tool then click on the new layer, and enlarge it to the size you want. Make sure you lock the aspect ratio.
- Right-click on the new layer again in the top-right panel and select Layer to Image Size.
- Right-click on it again and this time select Alpha to selection.
- Go to Edit > Stroke Selection and then adjust the properties of the stroke that you want around the new layer. The default color for the stroke is taken from the foreground color you’ve selected in the main GIMP window. Click OK to apply the stroke.
- As before with Photoshop, you can apply filters on the background layer, blur it, and/or add shadow to the new layer to create a further distinction between the two layers.
If you happen to be an Android user, some apps let you replace the sky in your photos.
Read Next: Block Tweets and Retweets from a Specific Person on Twitter